

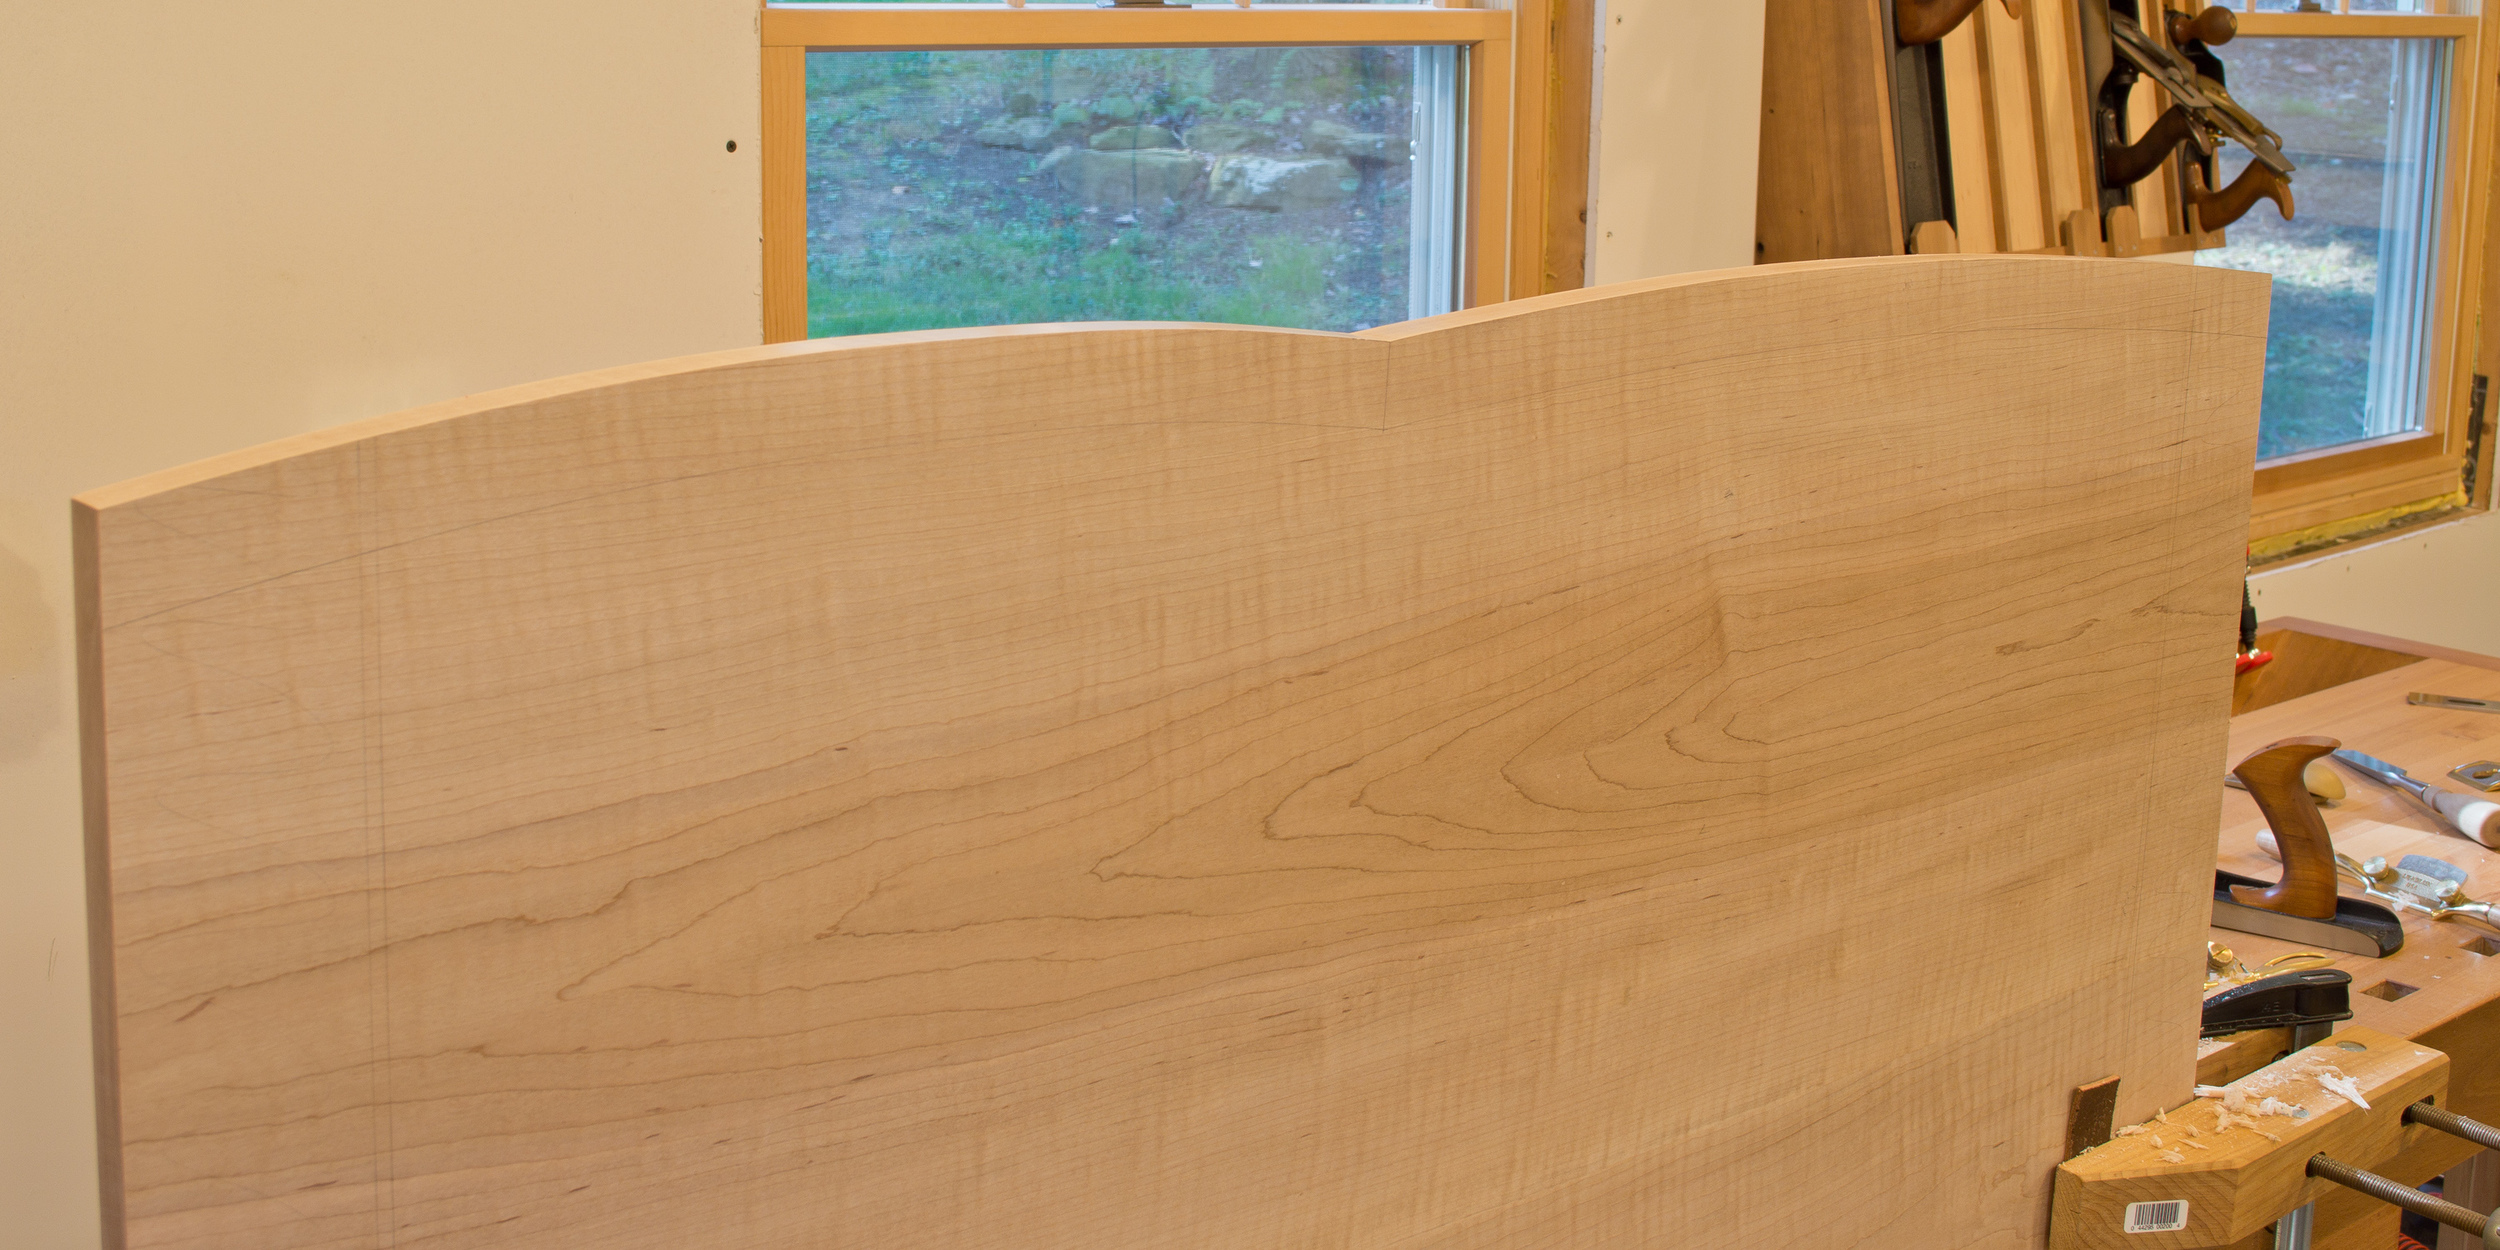
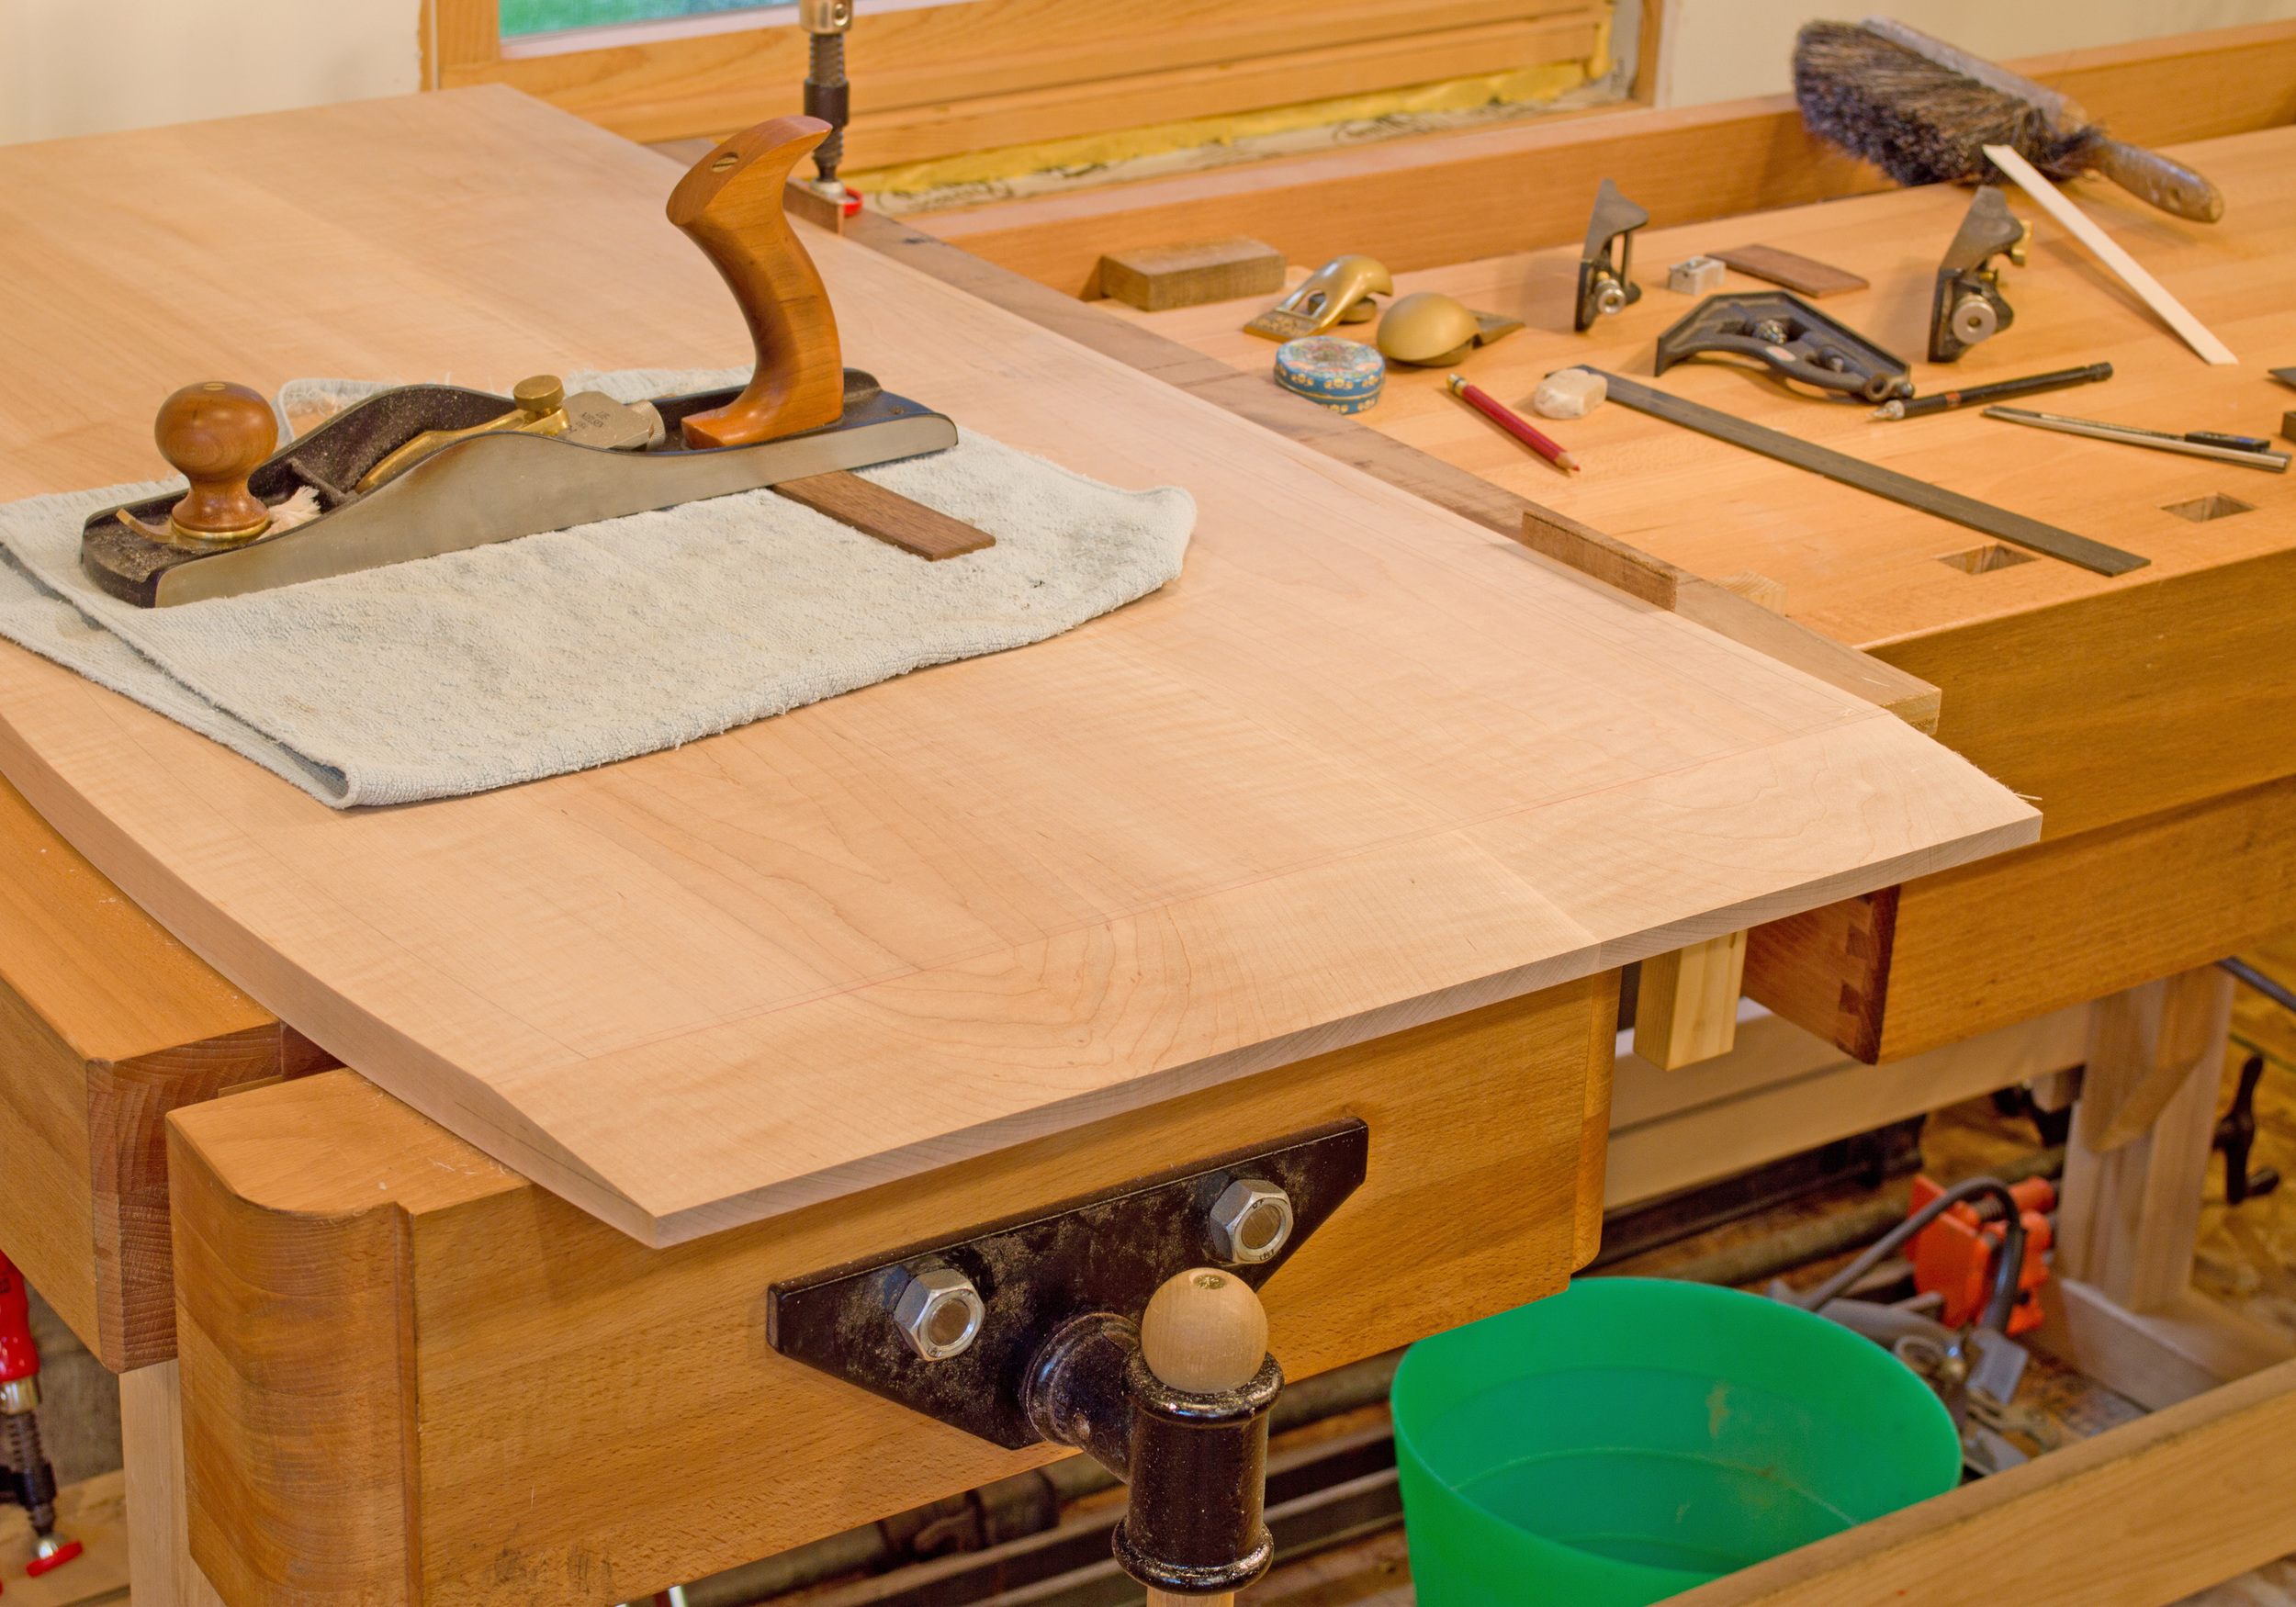
All of the edges on the top of the chest of drawers are shaped with an underbevel. I love this edge detail and have used it on quite a few pieces in the past. Besides the aesthetics of this detail, I love it because the shaping is done completely with hand tools. A tedious process, but definitely worth the work.
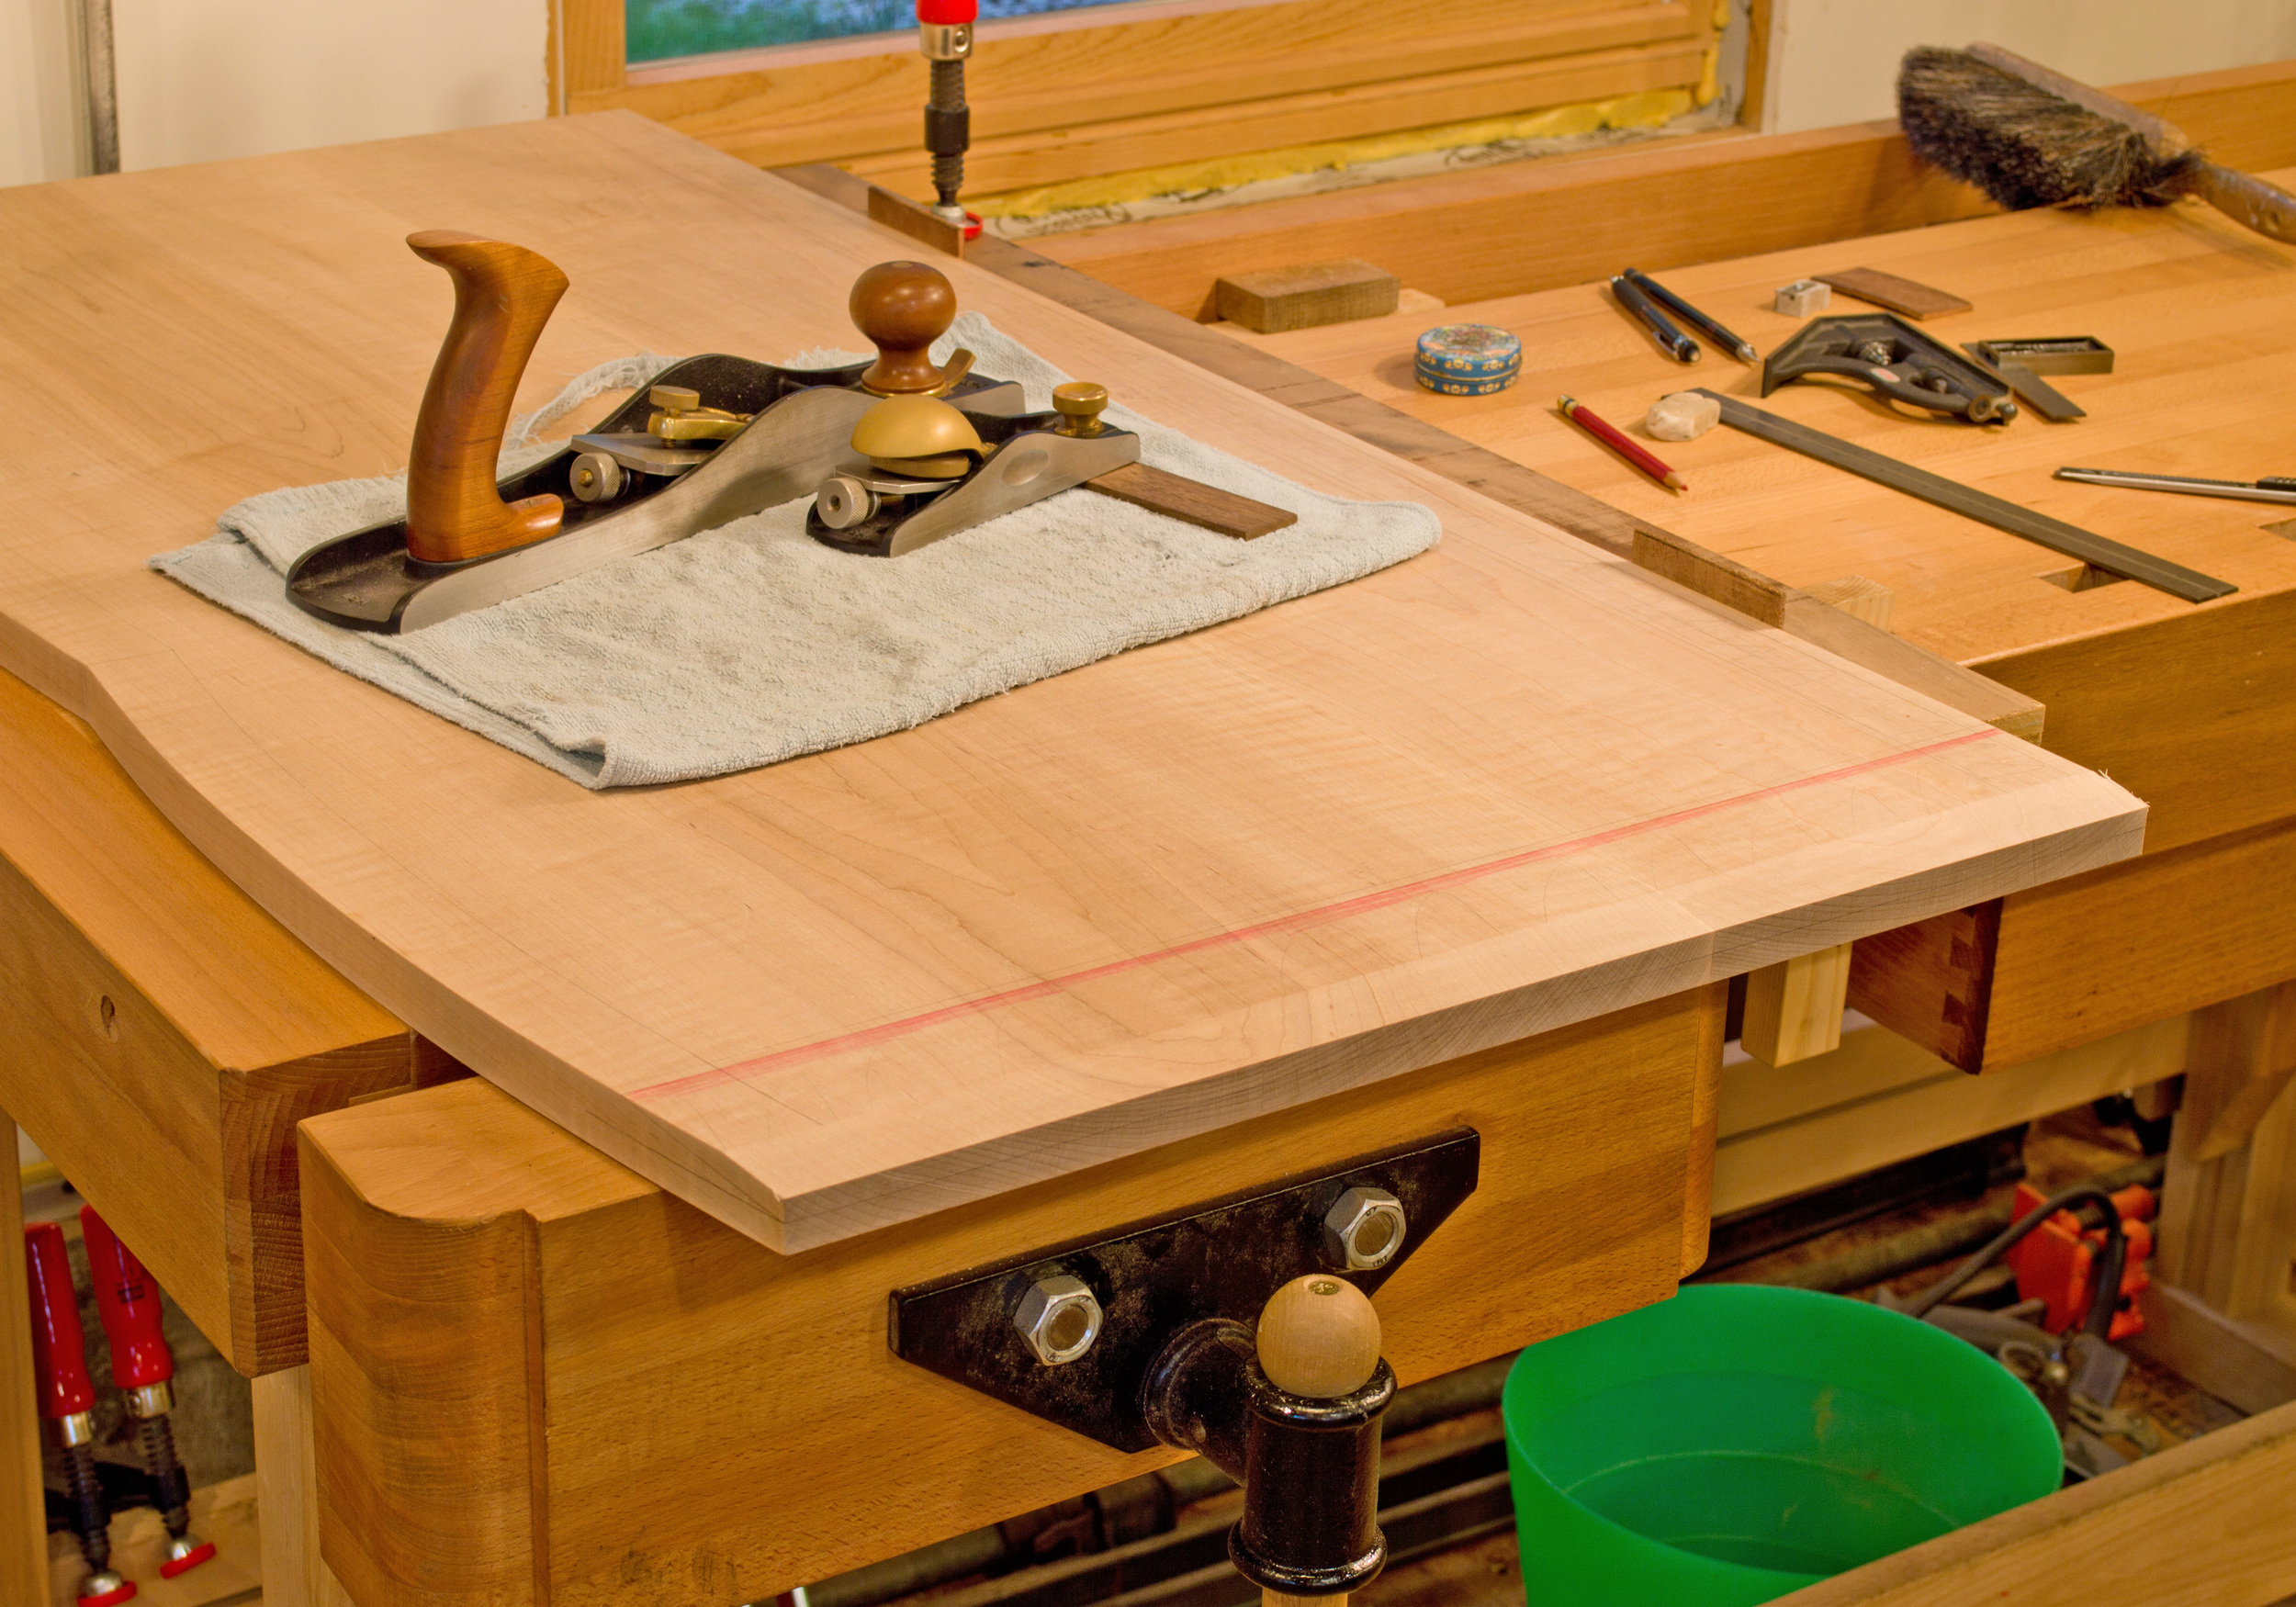
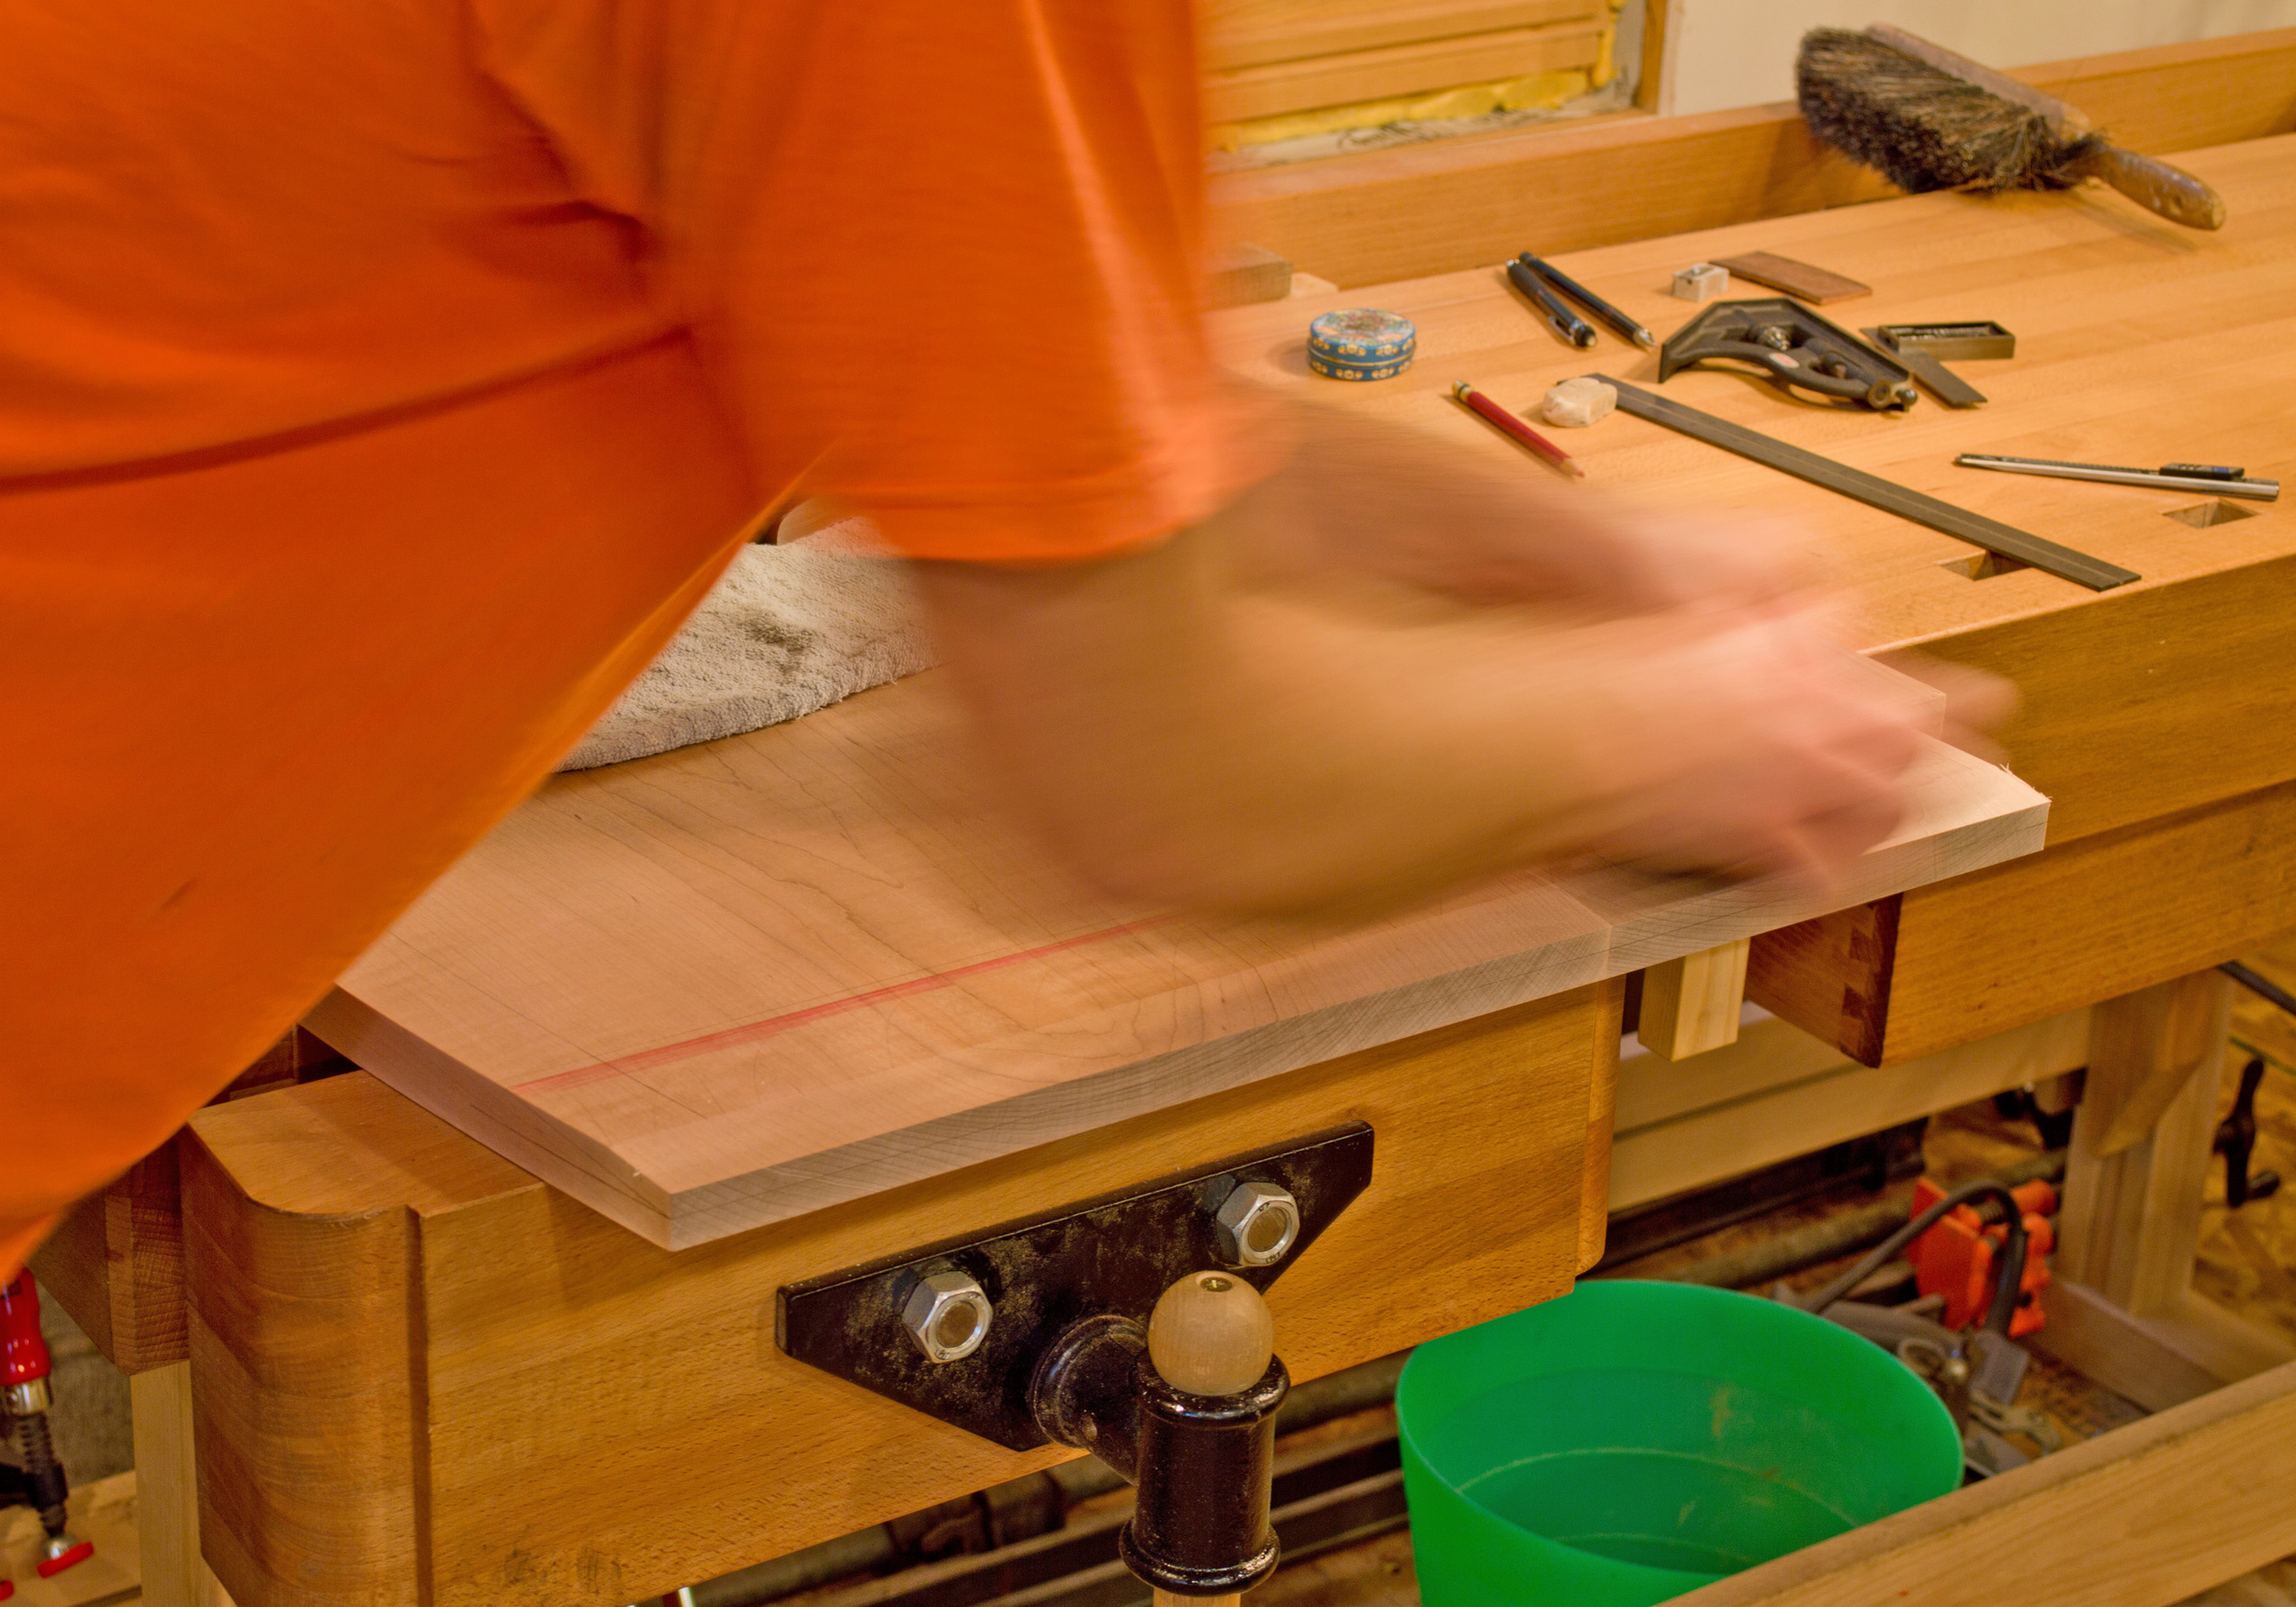
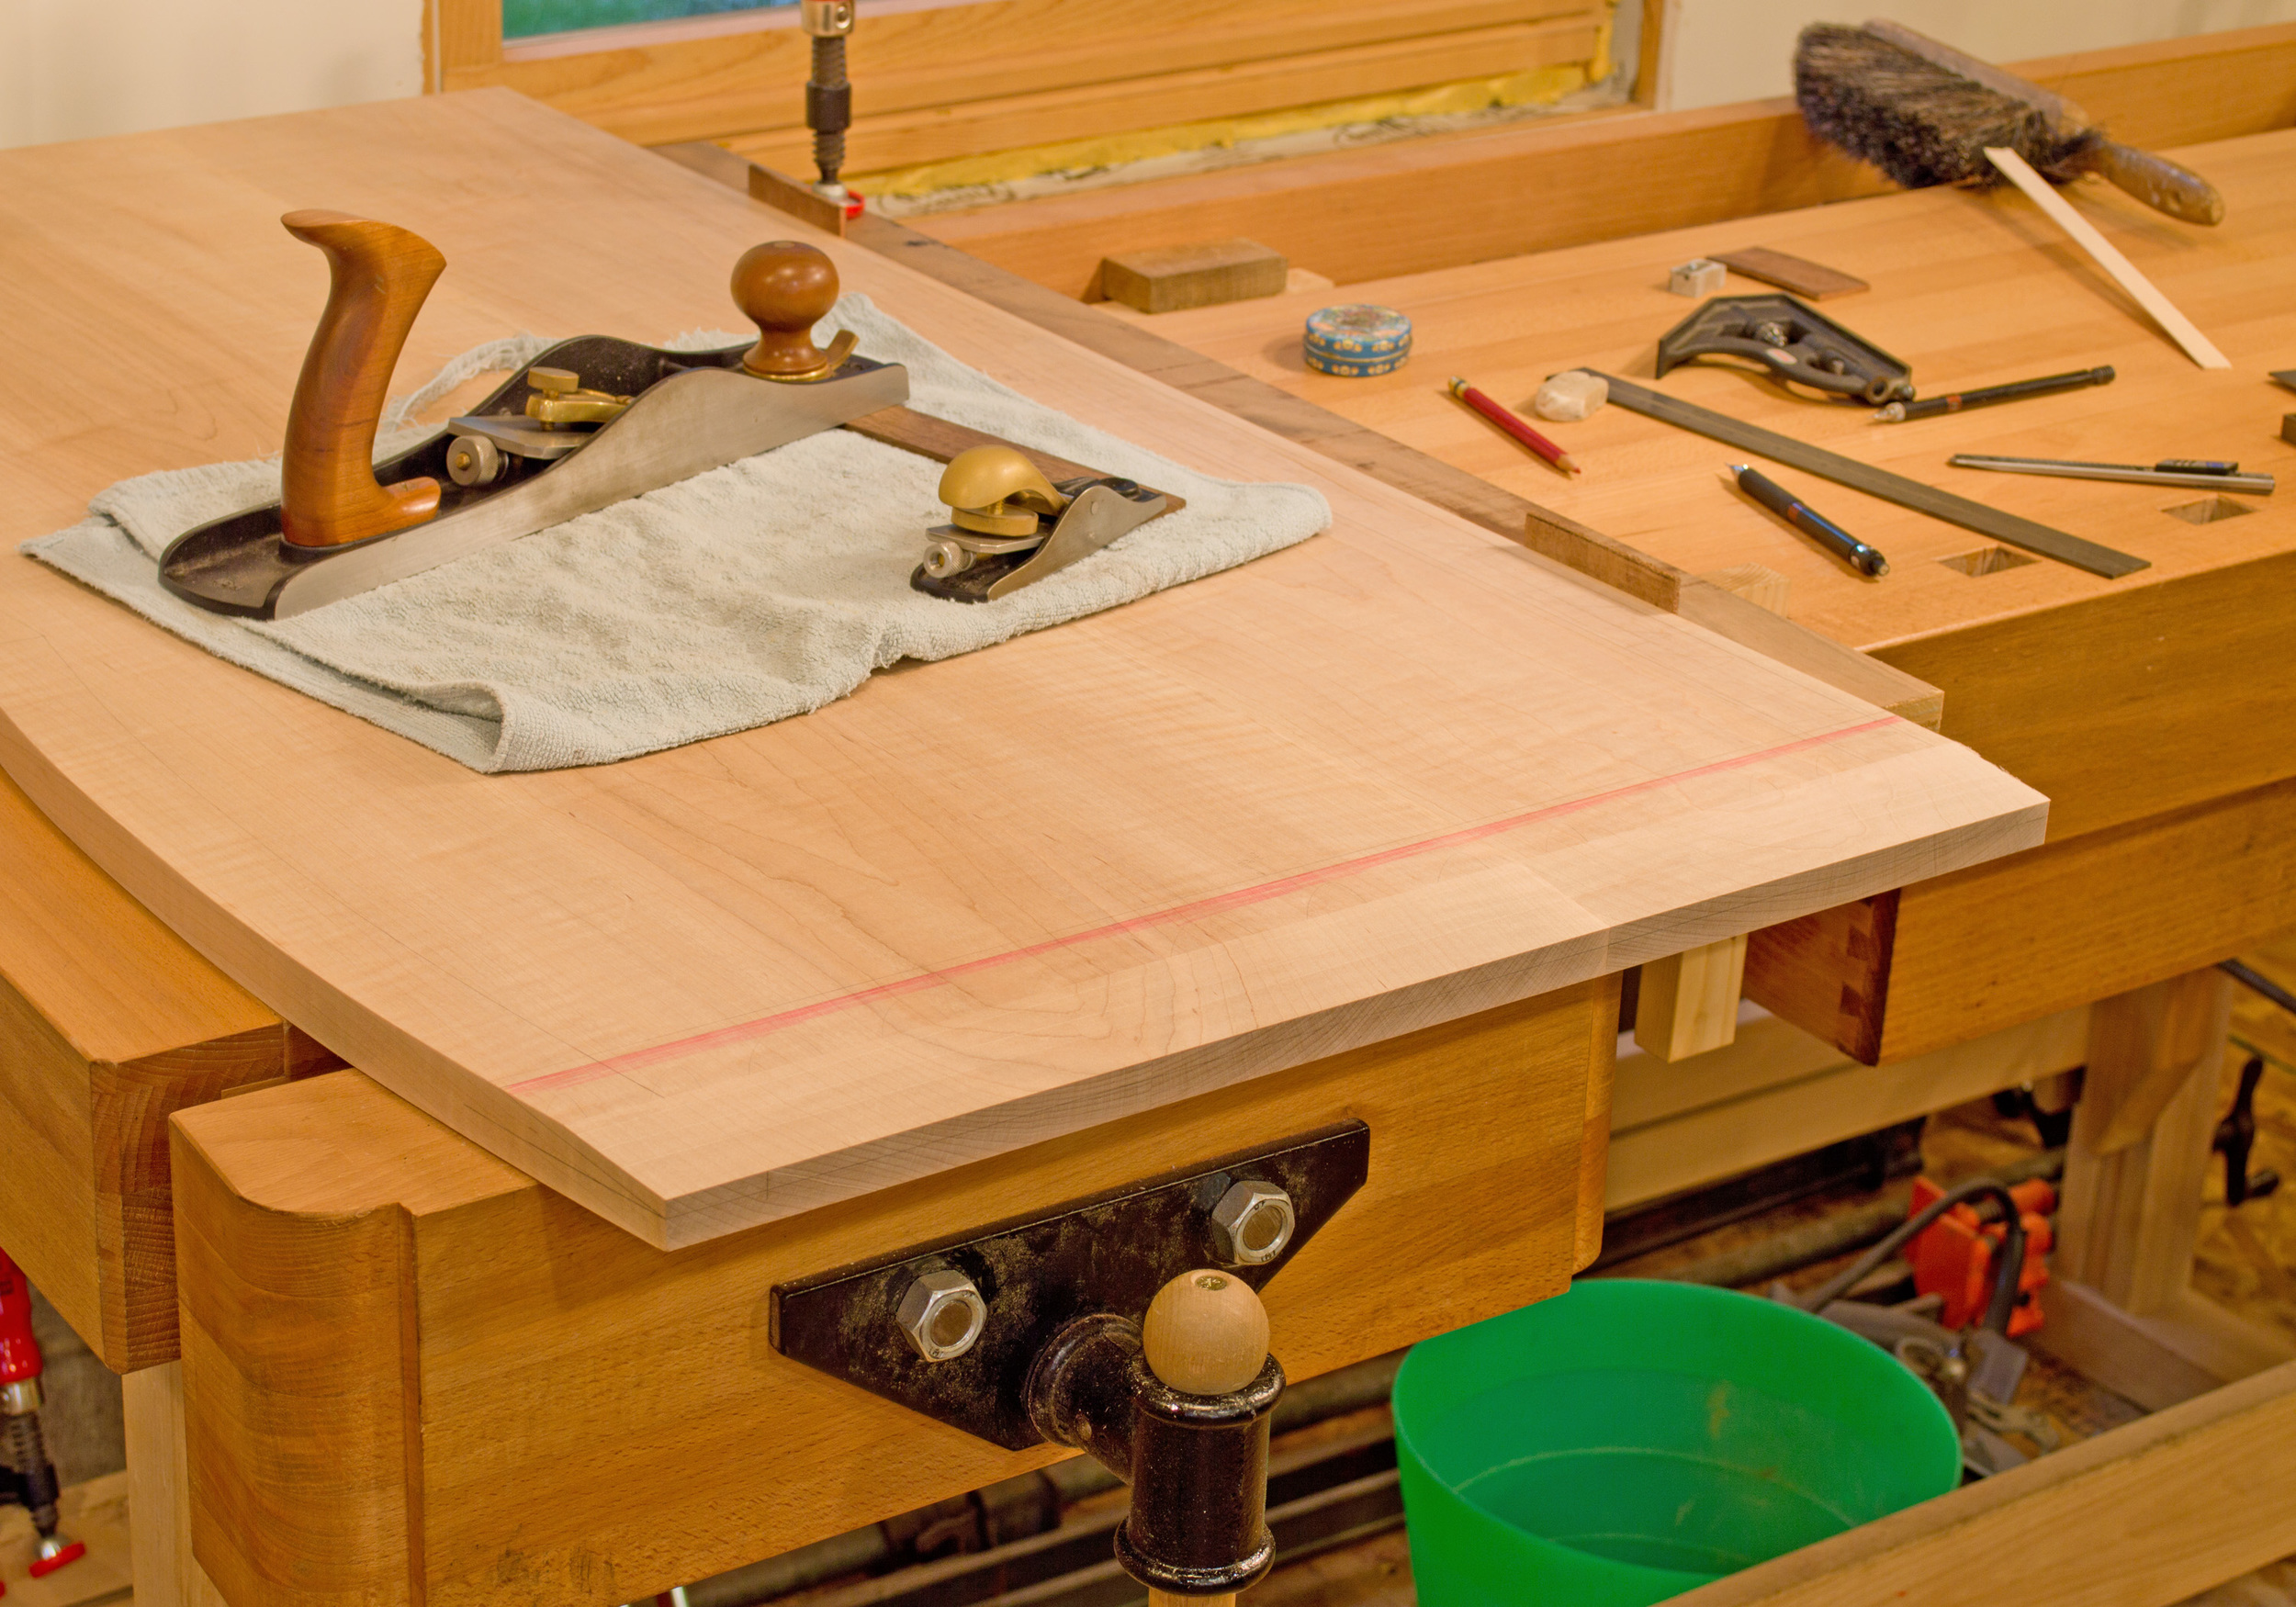
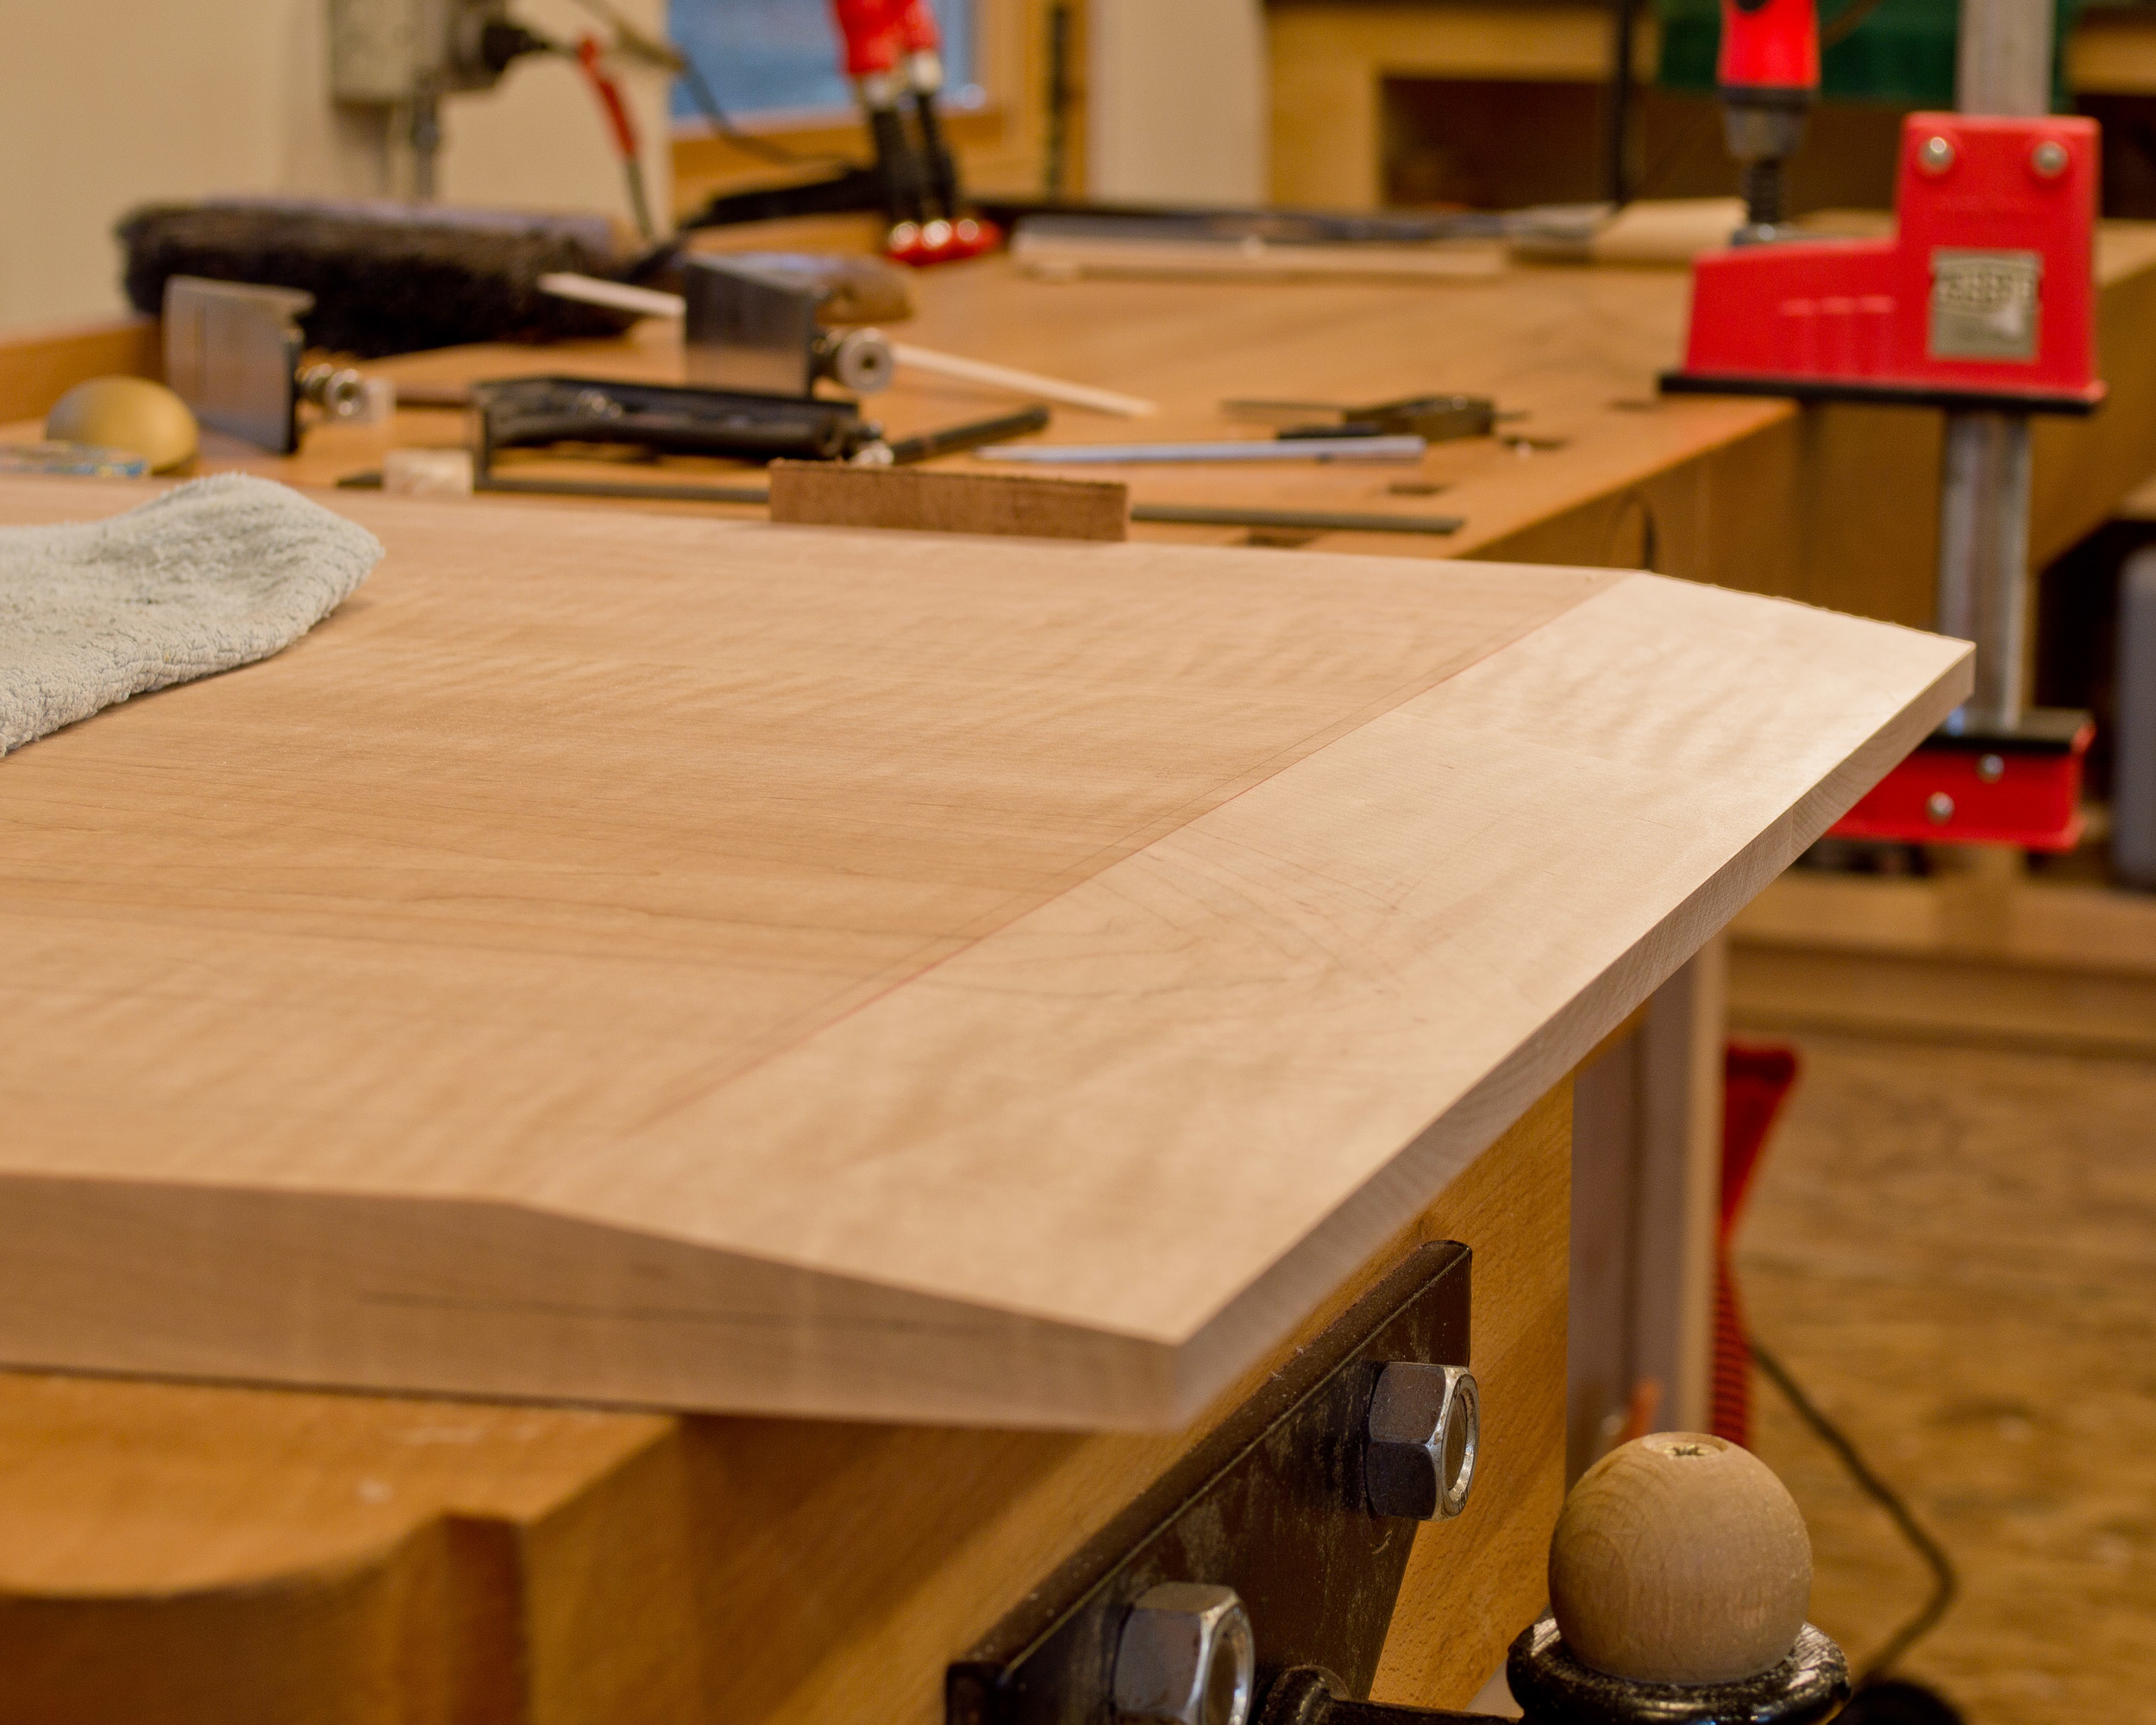
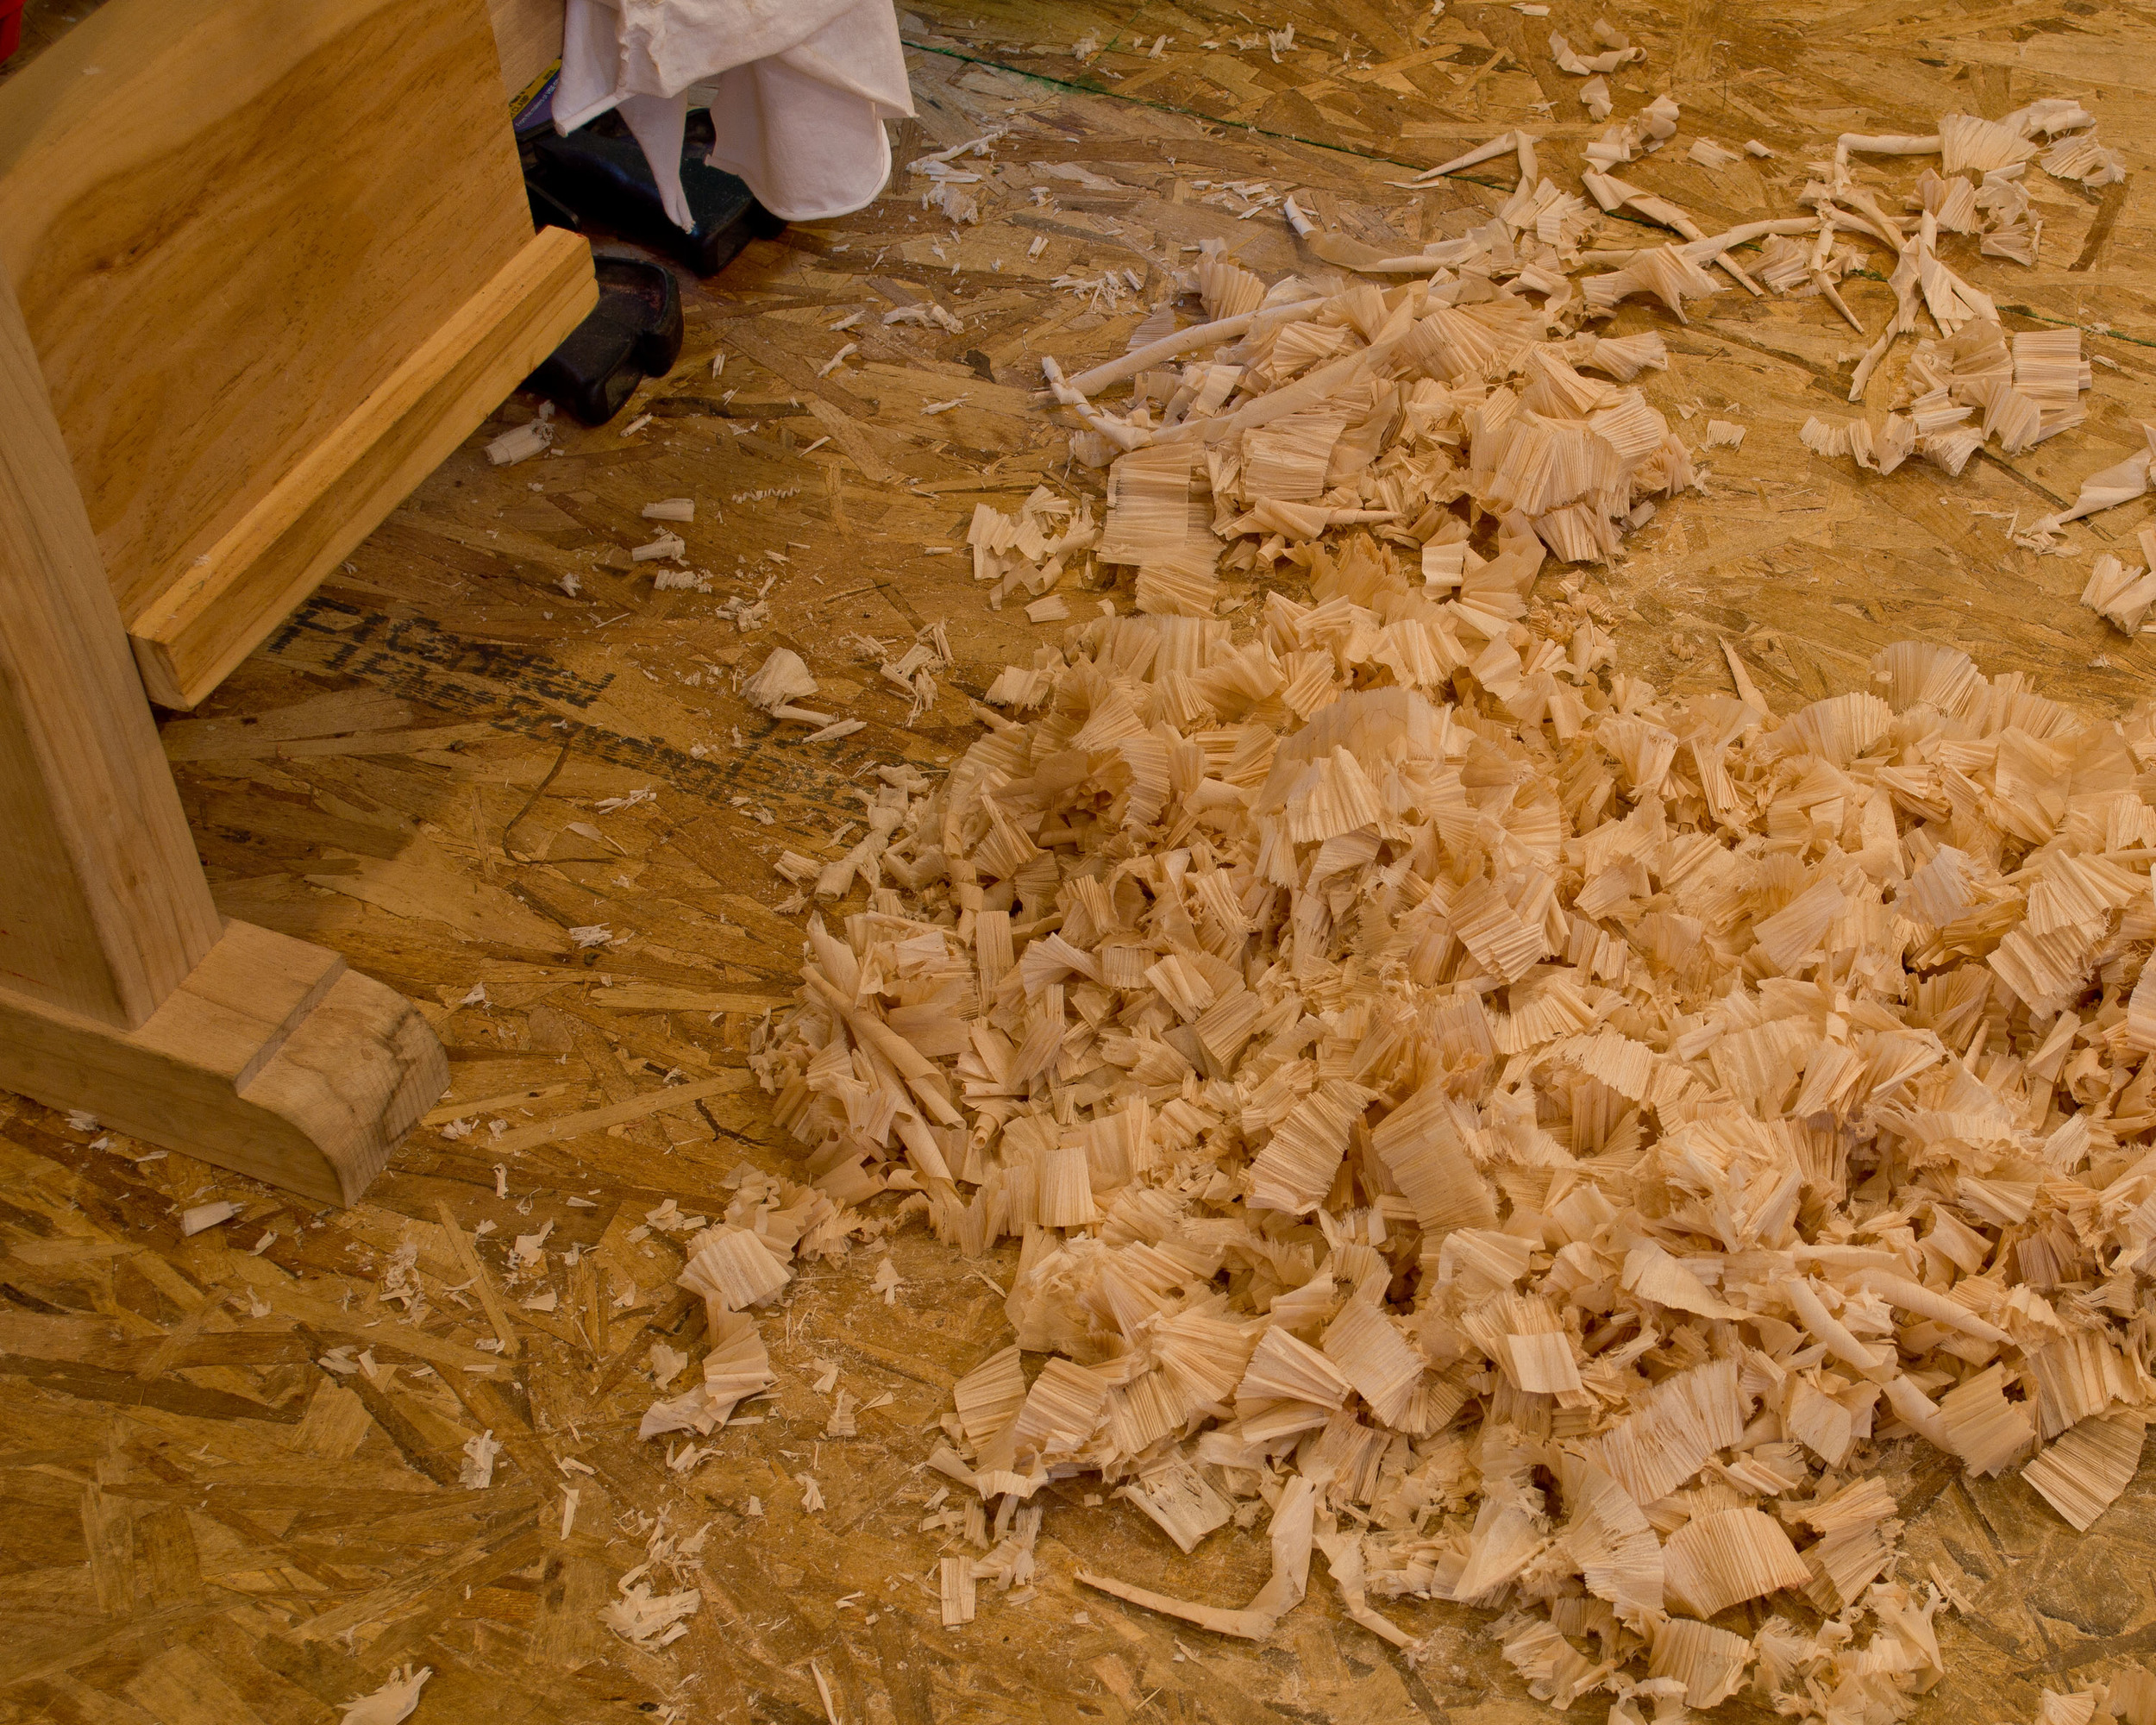
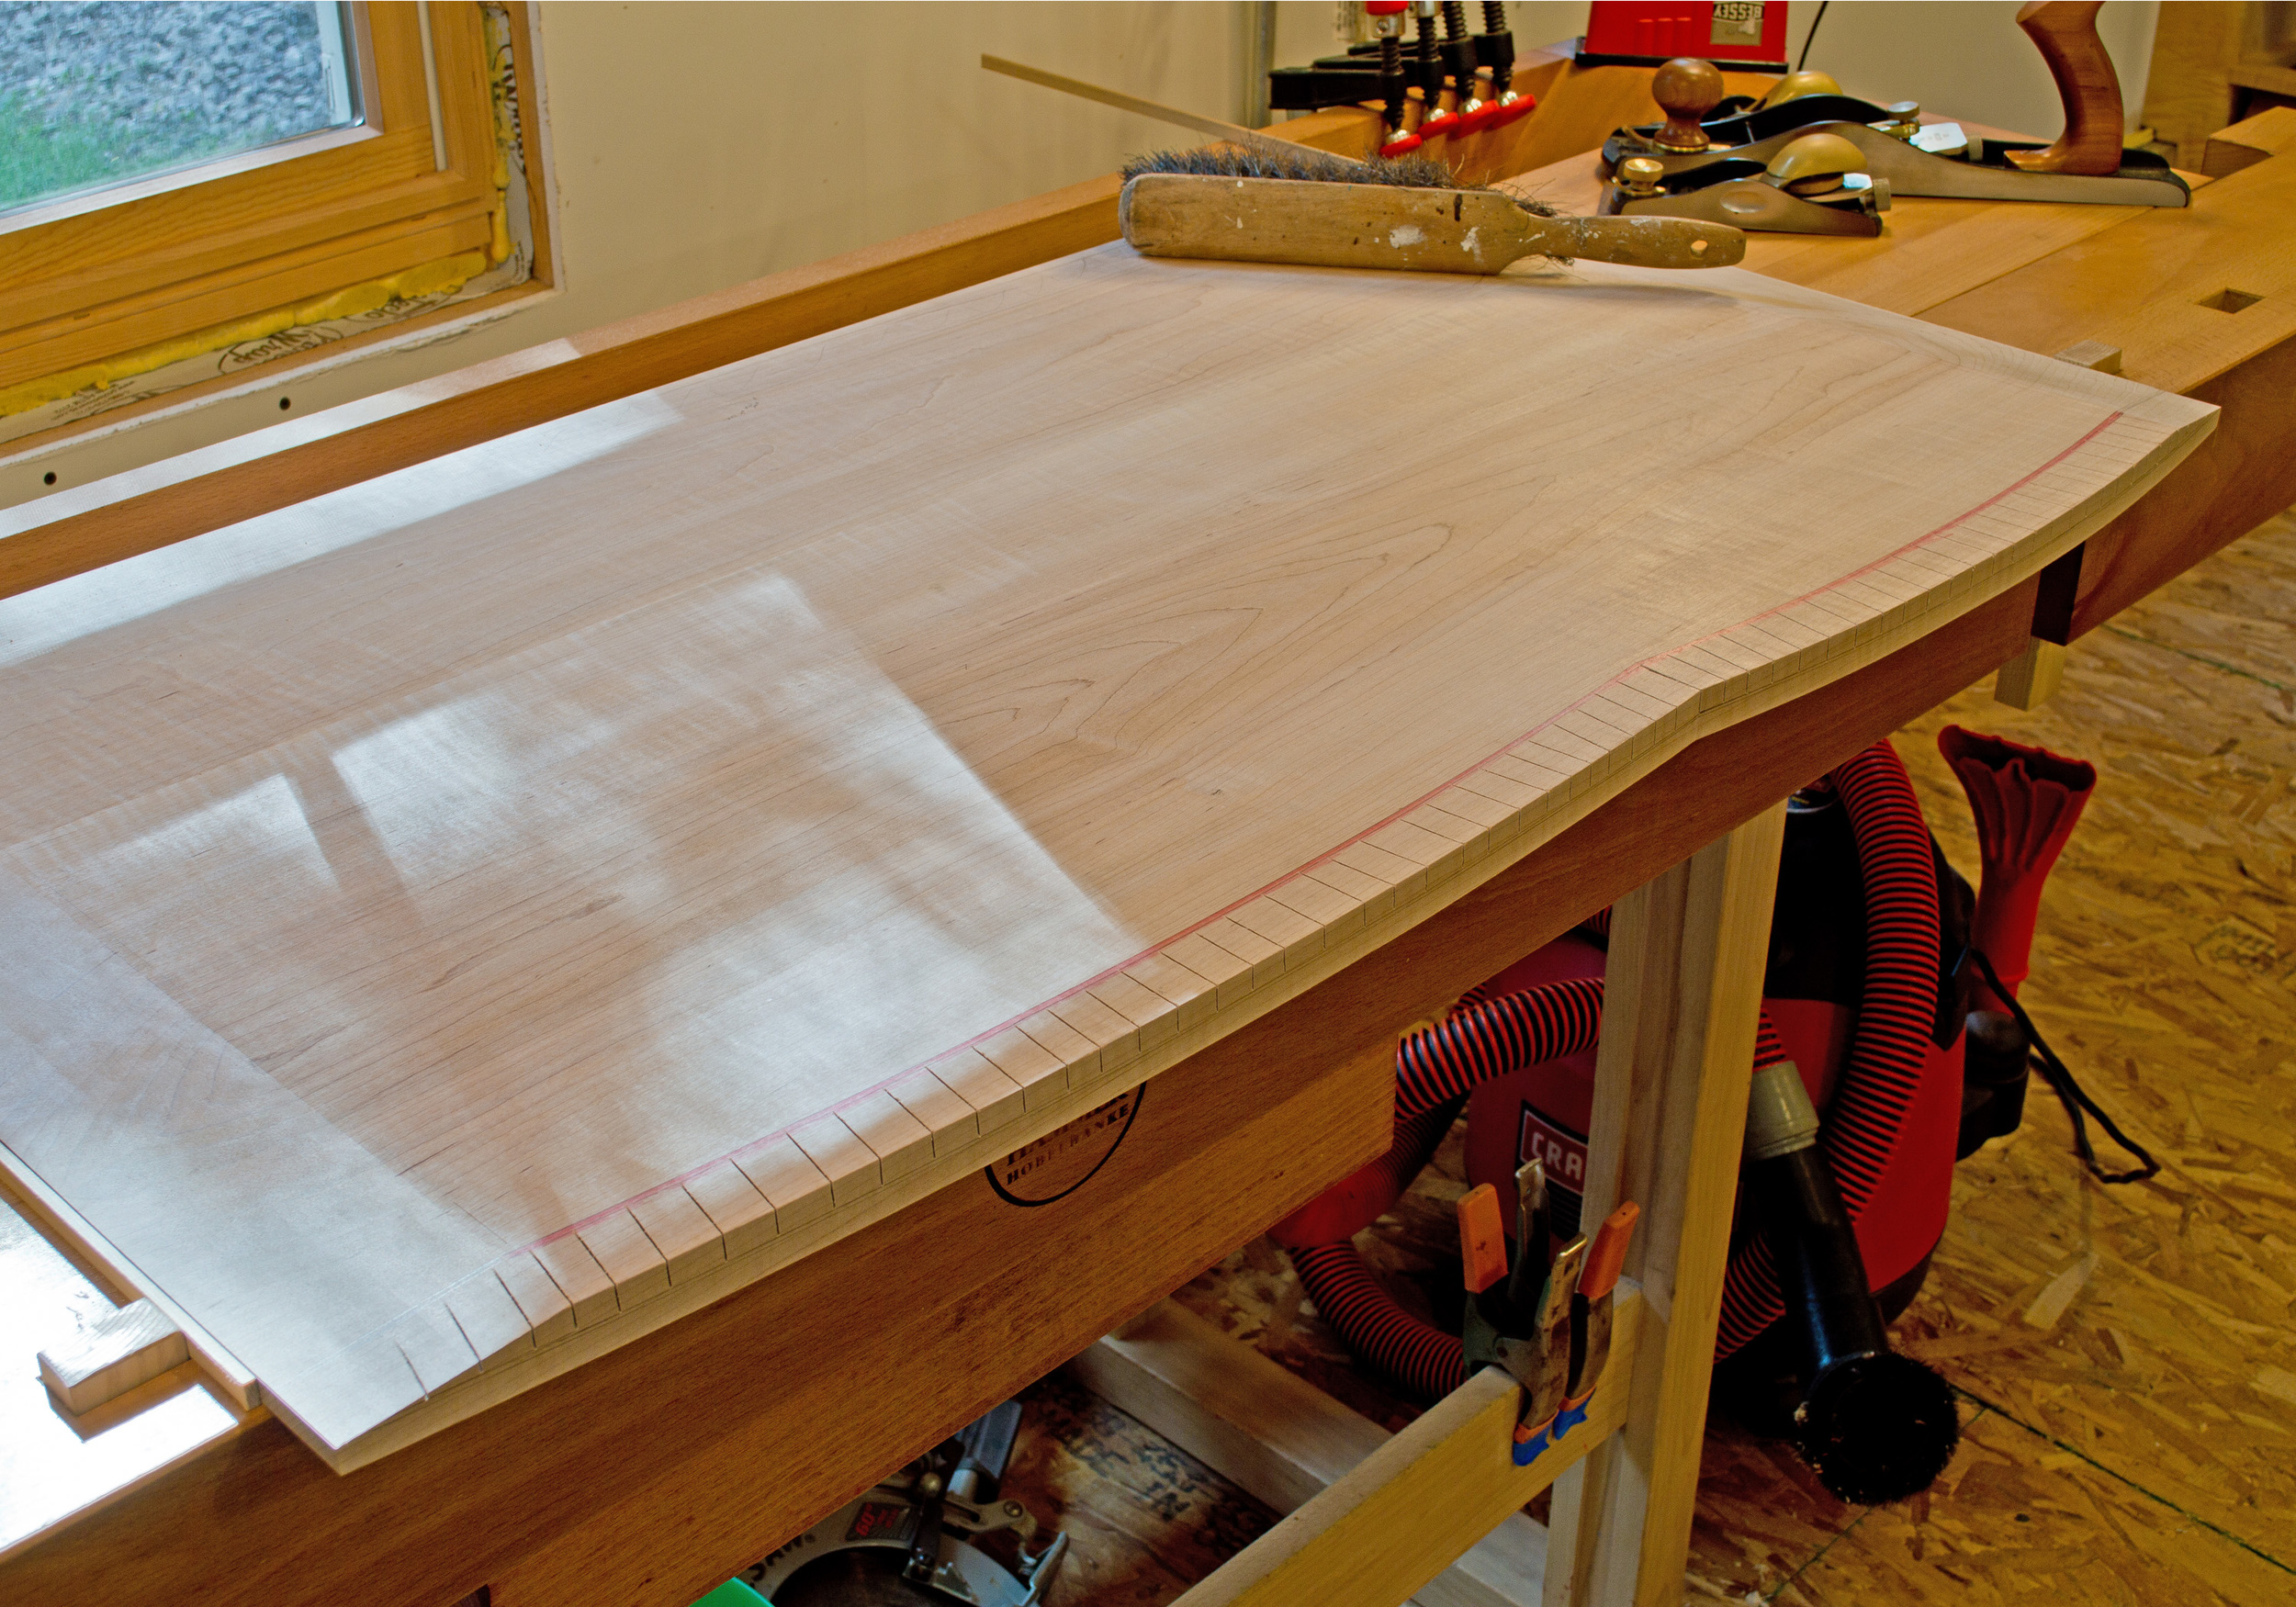
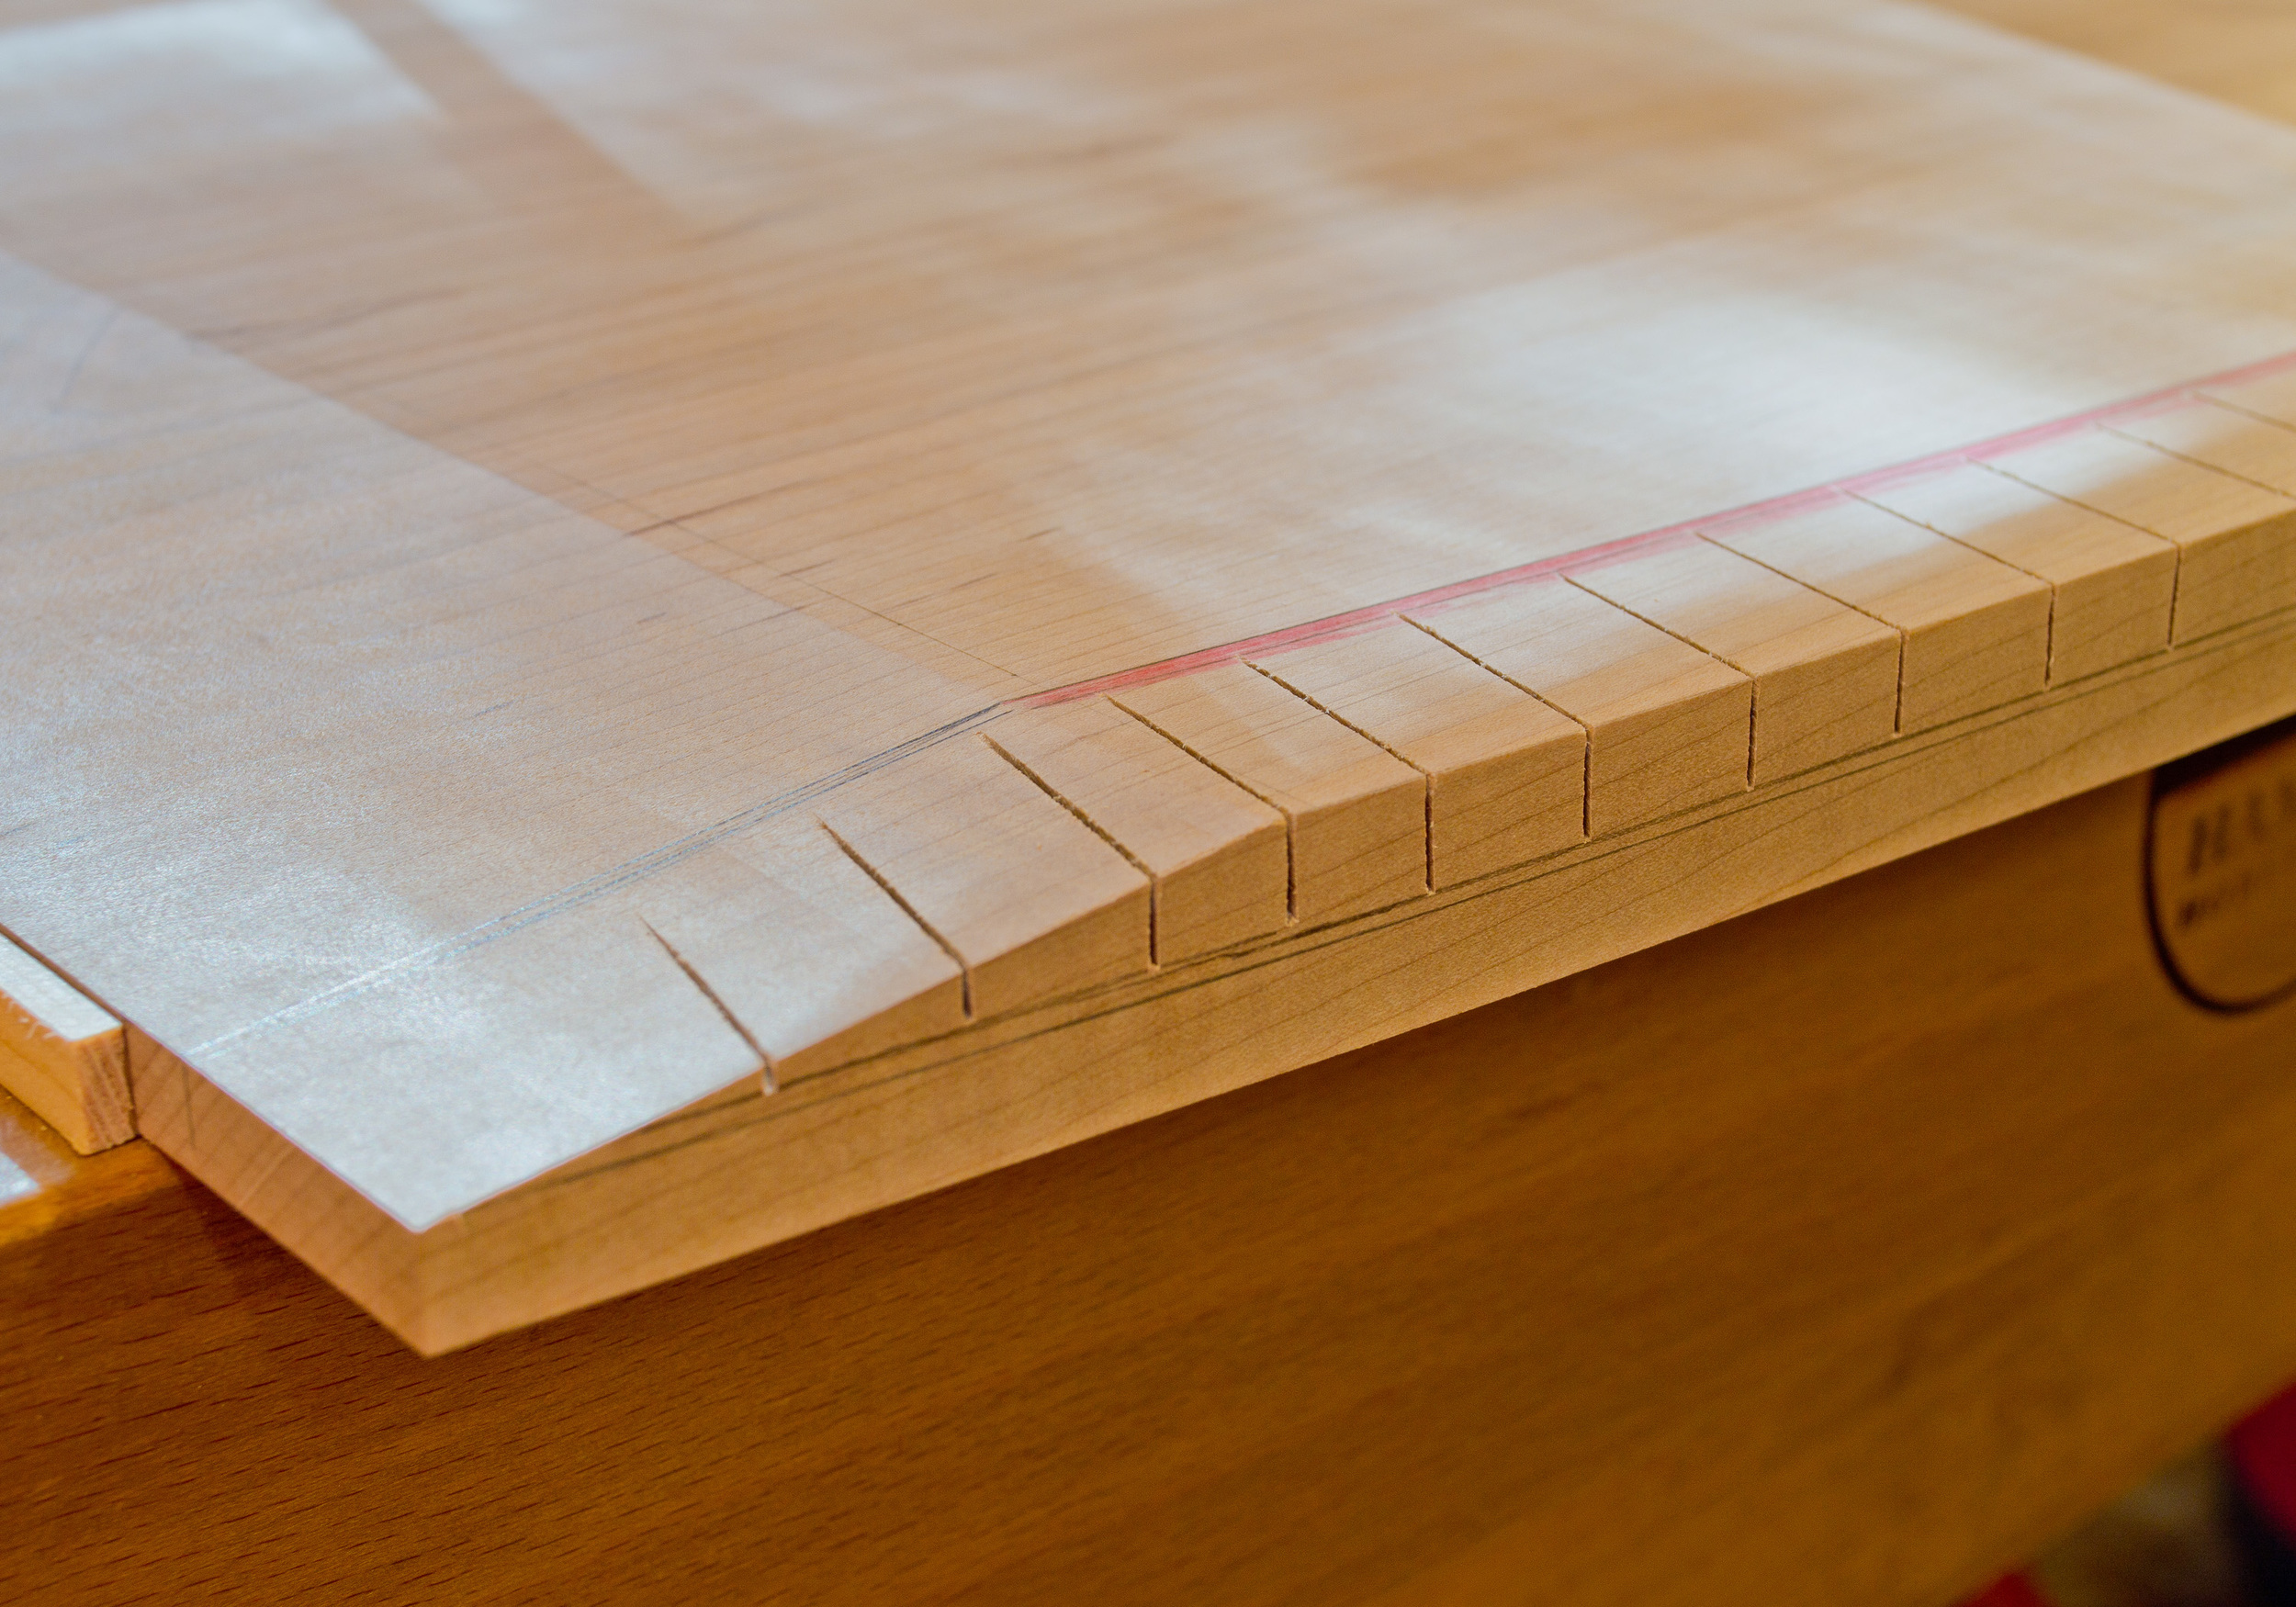
The top of this chest of drawers is a bit different in that the front edge has two curves which reflect the two curves in the drawer fronts and base. The first two images below illustrate these curves. Shaping the underbevels on the ends and back edge (the back edge is straight, no curves) is straightforward. But shaping the under bevels on the two front curves required a slightly different approach. If you skip ahead to the last 2 pictures (the first 8 show how I work a more typical bevel) I started by hand sawing down to my layout lines. These angled saw kerfs define the material to be removed, and they act as a kind of "safety" as I use a chisel and mallet to remove the chunks in between the kerfs. Without the kerfs, it would be fairly easy to remove too much material whether through an errant swing of the mallet or uncooperative grain. Once the bulk of the material is removed with chisel and mallet, I switch to a drawknife, then to spokeshaves and files, continually refining the shape until I hit those layout lines. Notice the progression of the tools used - roughing material away is done with tools suited for that task - a drawknife and mallet-propelled chisels (yes, chisels can do really fine work, but in this instance it was their brawn that I needed). Then the switch to spokeshaves and files reflected the need for more precise final shaping.